Building Your Own PC: A Beginner's Guide
Embarking on the journey to build your own PC can be both exciting and daunting. Whether you're a gaming enthusiast, a creative professional, or simply looking to customize your computing experience, constructing a PC from scratch offers flexibility, customization, and potential cost savings. Read below to discover the essential steps and considerations for building your own PC.

Selecting Components
- Processor (CPU):
- Choose a CPU based on your intended use (e.g., gaming, video editing).
- Consider factors like core count, clock speed, and compatibility with other components.
- Motherboard:
- Select a motherboard that supports your chosen CPU and offers necessary features (e.g., RAM slots, PCIe slots).
- Consider future expandability and compatibility with other peripherals.
- Memory (RAM):
- Determine the amount of RAM based on your computing needs (e.g., 8GB for general use, 16GB+ for gaming or intensive applications).
- Check compatibility with your motherboard and CPU.
- Storage (SSD/HDD):
- Opt for SSDs for faster boot times and application loading, and HDDs for mass storage.
- Consider NVMe SSDs for faster data transfer speeds if your motherboard supports them.
- Graphics Card (GPU):
- Choose a GPU based on your graphics needs (e.g., gaming, content creation).
- Consider VRAM size, clock speeds, and cooling solutions for optimal performance.
- Power Supply Unit (PSU):
- Select a PSU with sufficient wattage to power all components comfortably.
- Ensure it has the necessary connectors for your motherboard and GPU.
- Case:
- Choose a case that accommodates your selected components and provides adequate airflow for cooling.
- Consider aesthetics, size, and cable management options.
Assembly Process
- Prepare Workspace:
- Clear a spacious, well-lit area to work.
- Use an anti-static wrist strap or mat to prevent static electricity damage.
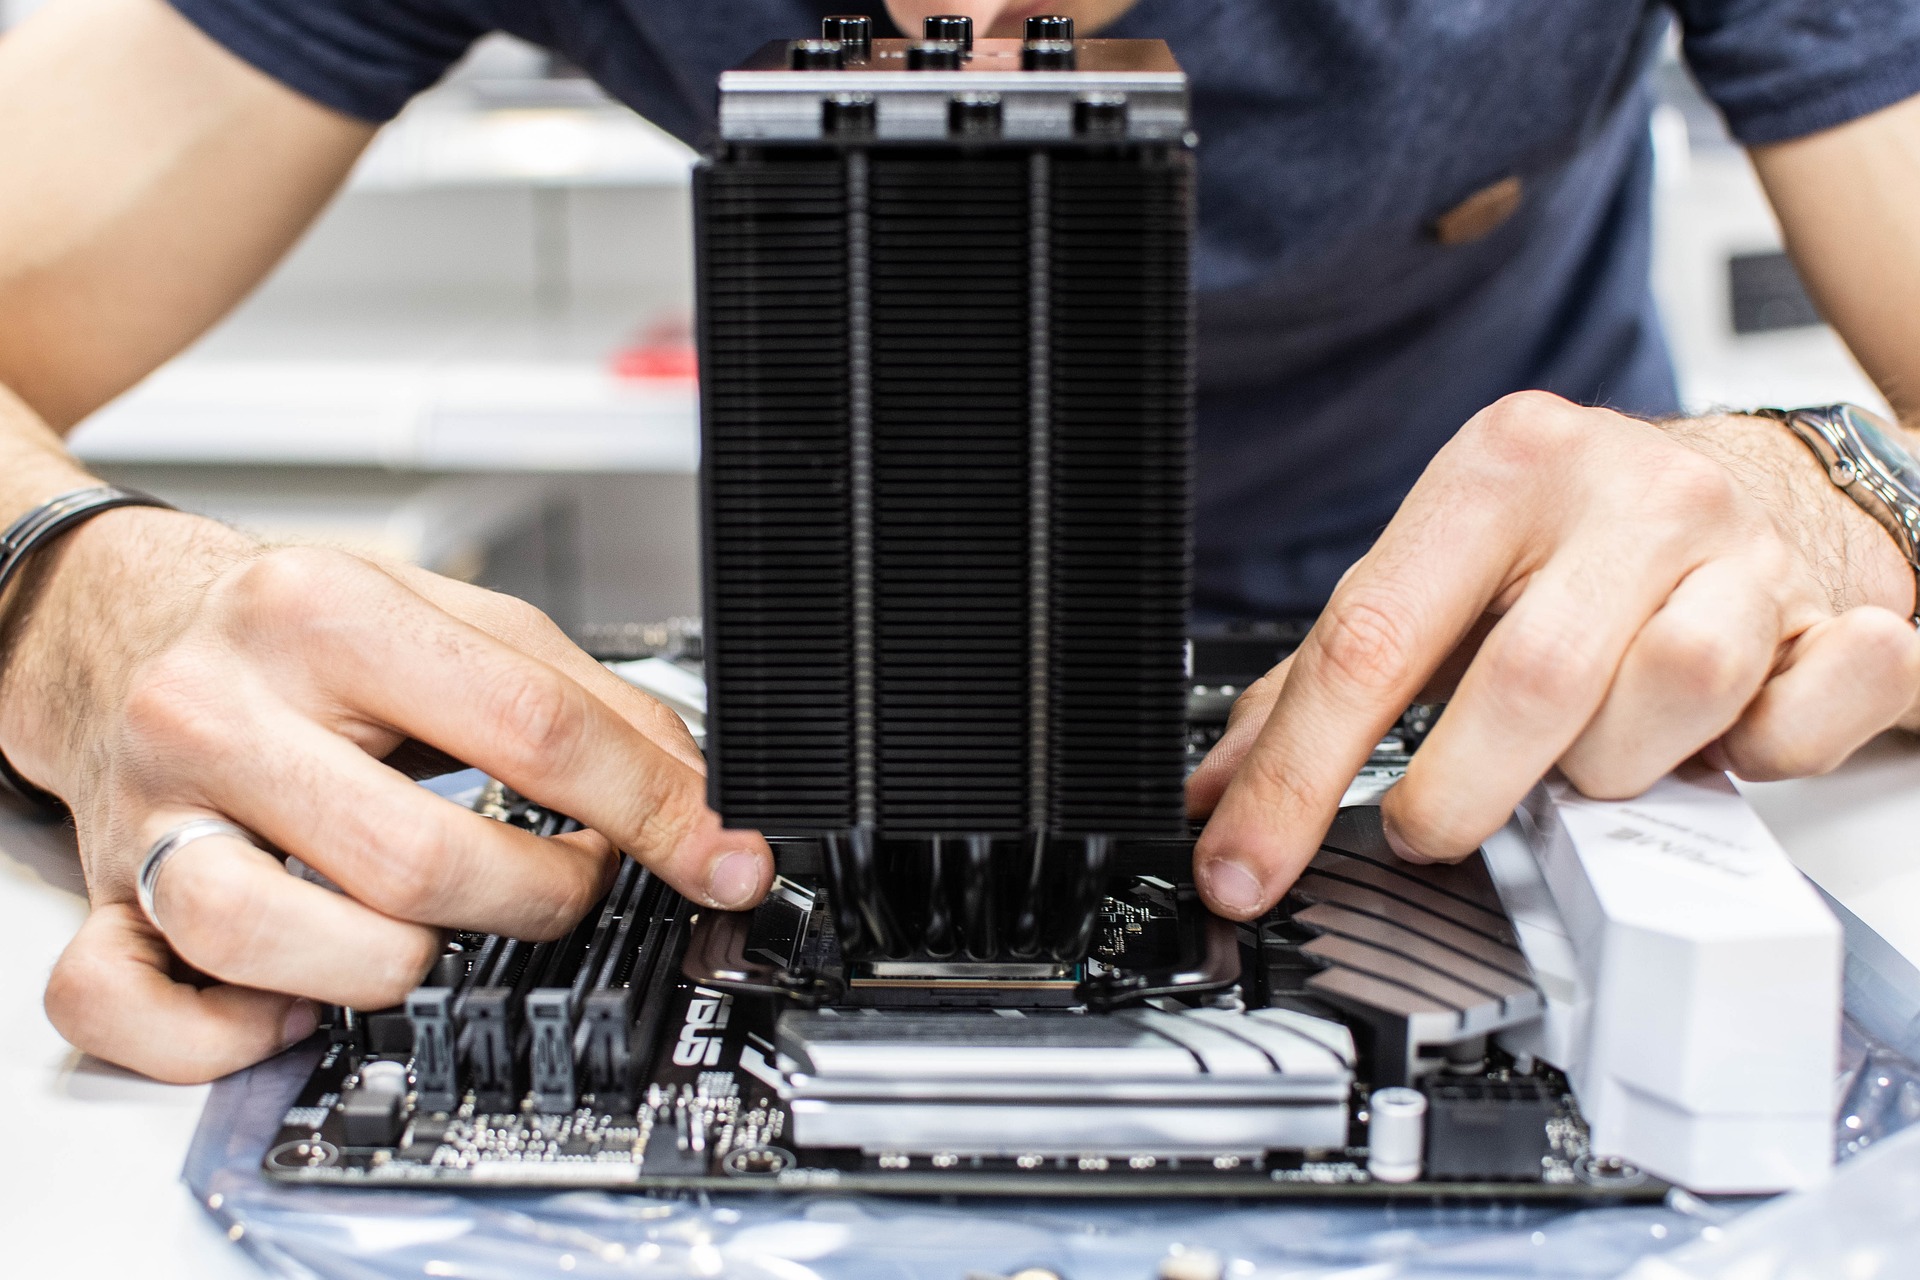
- Install CPU and Cooler:
- Carefully install the CPU into the motherboard socket according to the manufacturer’s instructions.
- Apply thermal paste and attach the CPU cooler securely.
- Install RAM and Storage:
- Insert RAM sticks into the motherboard slots, ensuring they click into place.
- Install SSDs/HDDs into drive bays or M.2 slots on the motherboard.
- Mount Motherboard in Case:
- Place the motherboard into the case and align it with standoff screws.
- Connect motherboard power cables and front panel connectors (power button, USB ports).
- Install GPU and PSU:
- Insert the GPU into the PCIe slot on the motherboard and secure it with screws.
- Connect PCIe power cables from the PSU to the GPU.
- Install the PSU in the case, ensuring proper ventilation and cable management.
- Connect Cables and Test:
- Connect SATA cables from SSDs/HDDs to the motherboard.
- Connect power cables from the PSU to all components (motherboard, GPU, drives).
- Double-check all connections and ensure everything is securely plugged in.
- Power On and Install OS:
- Power on the PC and enter BIOS/UEFI to confirm all components are recognized.
- Install the operating system (OS) from a USB drive or DVD.
- Install drivers for motherboard, GPU, and other components from manufacturer websites.
Troubleshooting and Final Adjustments
- Troubleshooting Tips:
- If the PC fails to boot, check connections and ensure components are seated properly.
- Refer to motherboard and component manuals for error code meanings.
- Cable Management:
- Organize cables neatly to improve airflow and aesthetics inside the case.
- Use cable ties or Velcro straps to bundle cables together.
- Benchmarking and Testing:
- Run benchmarking software to test CPU, GPU, and RAM performance.
- Ensure temperatures are within safe limits under load.
Conclusion
Building your own PC is a rewarding experience that allows you to tailor your system to your specific needs and preferences. By selecting quality components, following assembly guidelines, and conducting thorough testing, you can create a high-performance PC that suits your gaming, productivity, or multimedia tasks. Enjoy the journey of assembling and customizing your PC, knowing you’ve built a machine that reflects your passion for technology and computing prowess.


